If you are in the business of selling lighting products, then you know that good product photography is essential in order to show potential customers what your products look like and how they can be used in different settings. However, professional product photography can be expensive and time-consuming.
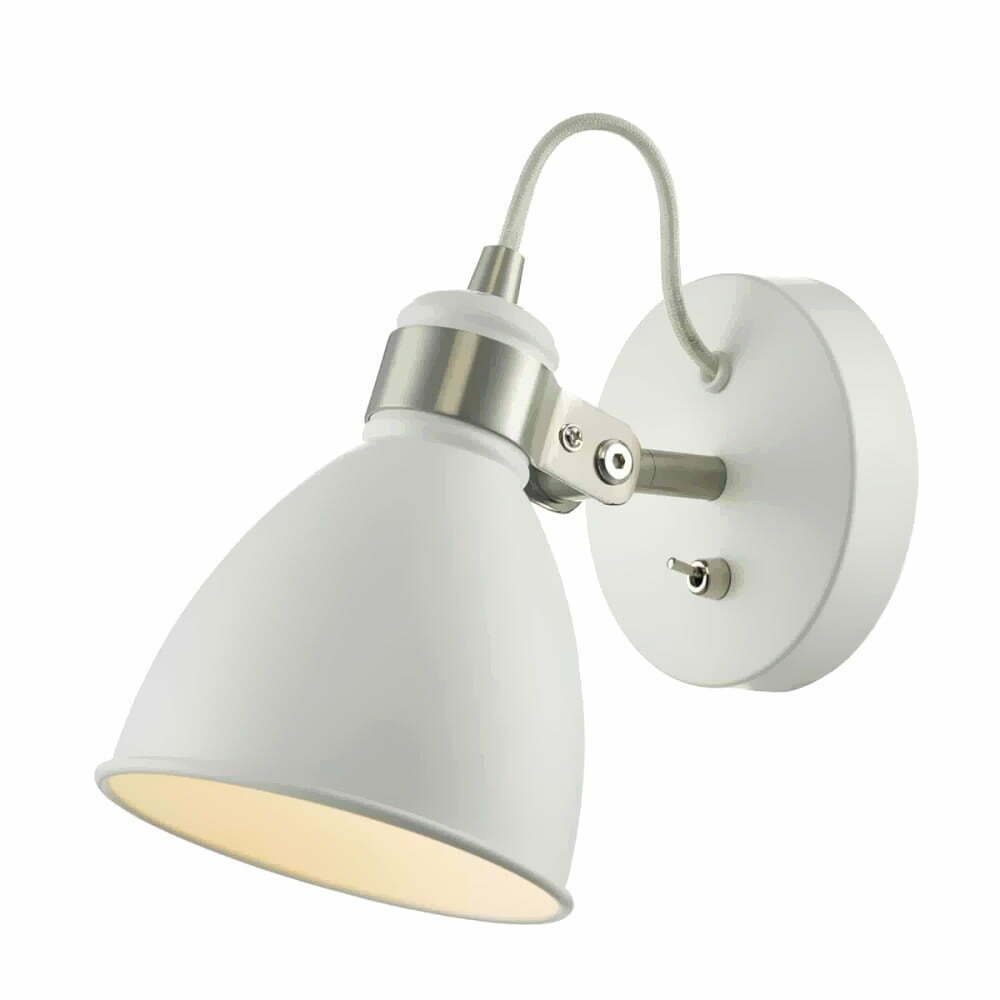
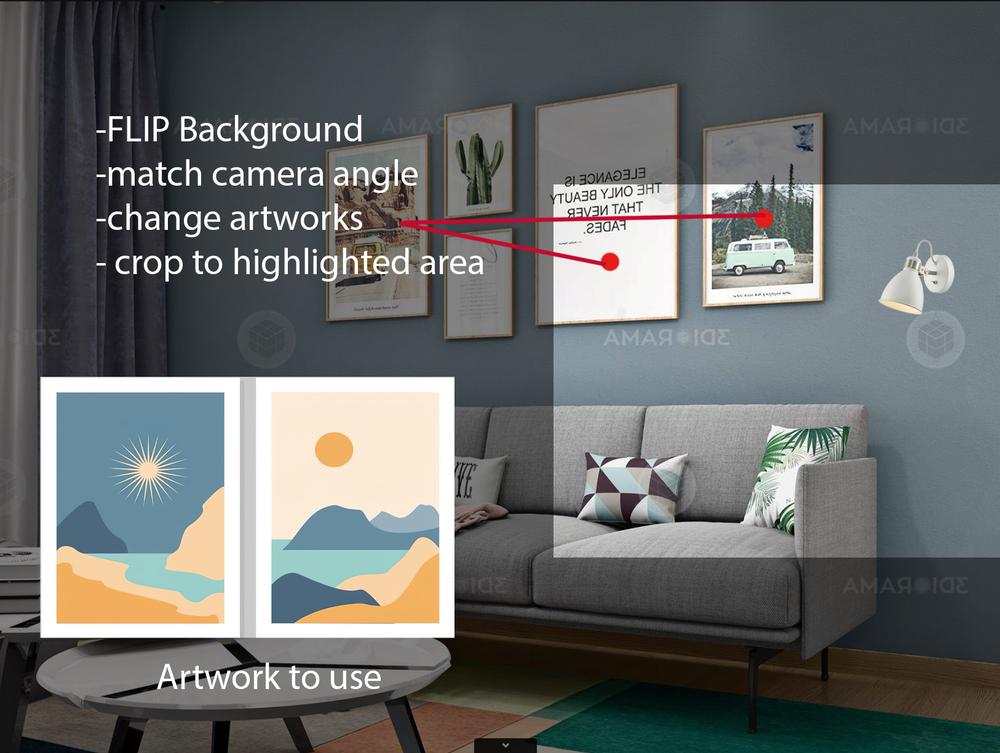
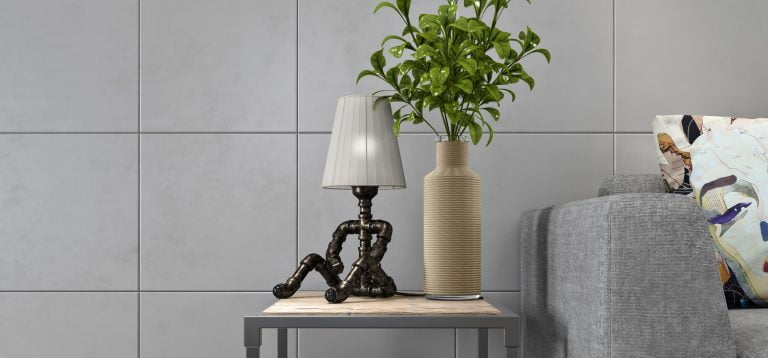
One way to save time and money on product photography is to use photomontage to insert your lighting products into stock images. This technique can be used to create realistic-looking images that show your products in use, without the need for expensive photo shoots or complex 3D rendering. Below is an image from our library selected by the client and written markups to customize the view to his specifications.
Here are some tips for using photomontage to create realistic and eye-catching product photos:
– Choose the right stock image. When selecting a stock image to use as a background, look for an image that has a similar color palette to your product and that includes enough negative space so that your product can be easily inserted. Avoid using busy images with a lot of small details, as this will make it more difficult to place your product convincingly into the scene.
– Make sure the perspective matches the background and the foreground or contact us to request a custom camera angle of an Image you like.
– Check if overall lighting is the same and from the same direction as the product photography. If not, the product will look unnatural and won’t quite fit in the scene. Alternatively request a different light setting. This will require considerable more work though and will affect the image price.
– Use layer masks. Layer masks are a lot like clipping masks, but they’re slightly more complex. Layer masks are a good option when you want to keep the background of your stock photo, but you want to remove objects from the foreground. To create a layer mask, simply duplicate the background layer and then use the “Quick Mask” tool in Photoshop to select the area you want to remove. Once your selection is complete, click the “invert” option and then hit “delete.”- Use the “subject selection” tool. If you’re not so comfortable with Photoshop or you don’t want to waste time creating a clipping mask or layer mask, you can always use the “subject selection” tool. Most of the time it will create a very good clipping mask around your product esp. if it’s shot on a contrasting background.
With the Product Clipped And a new requested rendering (camera change, flipped scene and new artwork replacement cost $45) you can place the product in the scene.
Now we need a suggestive shadow to make it stick to the wall. This is done by adding a copy of the product Layer and moving it under your product then by selecting CTR and the Layer it will select the Item. Now Fill it with black. Then change the blending mode to multiply so when we use a black brush it will darken the background.
Using gaussian blur will soften the shadow edges and set transparency of the layer to around 35 or more depending on the wall color.
Duplicate the shadow layer and gaussian blur to a very soft edge.
Then perspective distort (CTRL+T) the layer to create shadow on the wall. Blurring the layer further away from the wall will Help realism.
Using a Layer mask or soft eraser you can create the soft to hard shadow transition.
There are more techniques but they are more complex.
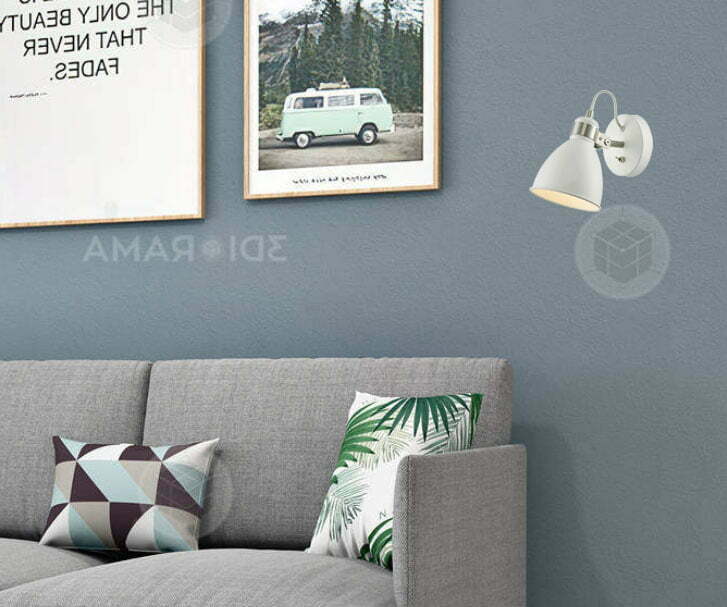
And here is the end result. We added a little Depth Of Field to the Camera to put the Focus more on the product. Quite convincing right?
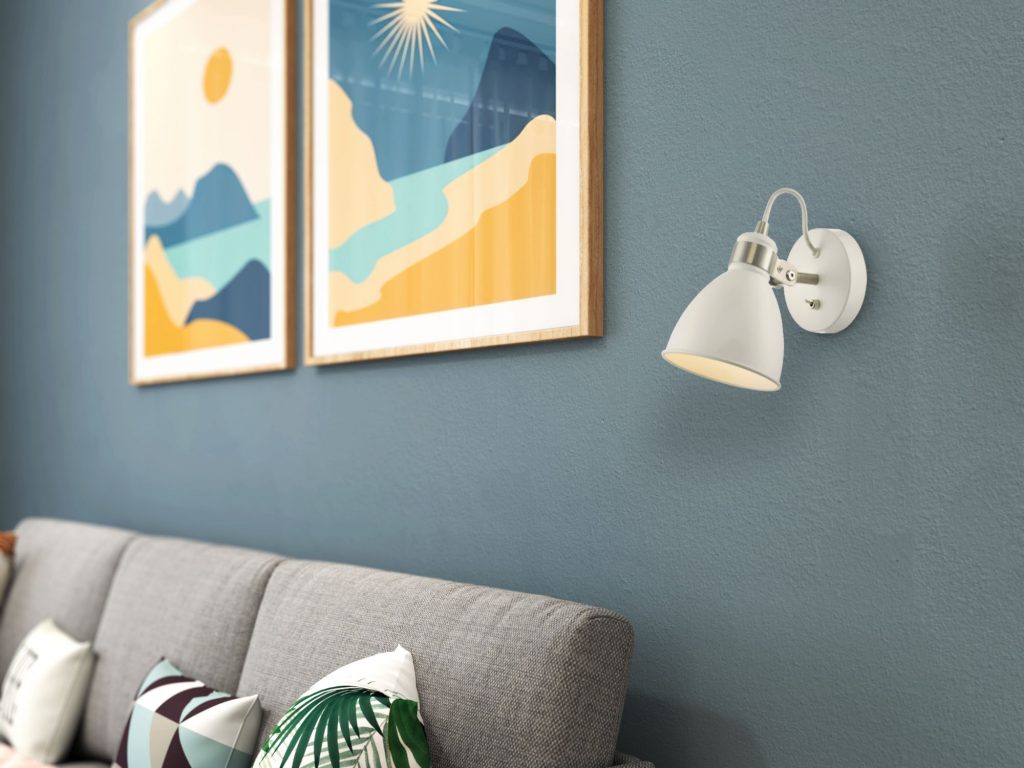
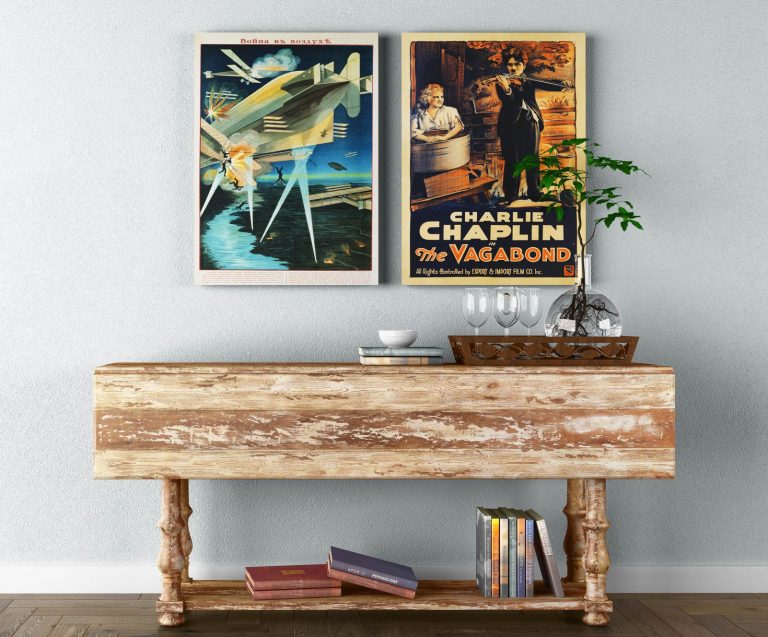
Does the selected Stock image not quite match the perspective or there is too much detail in the scene but you like to use that image?? Contact us. We can Render from a matching angle and delete unnecessary items from the scene for you.
Have difficulty doing this work yourself? Or have a tight deadline and need 100’s of images done in a short time. Don’t hesitate to contact us to help you out!


